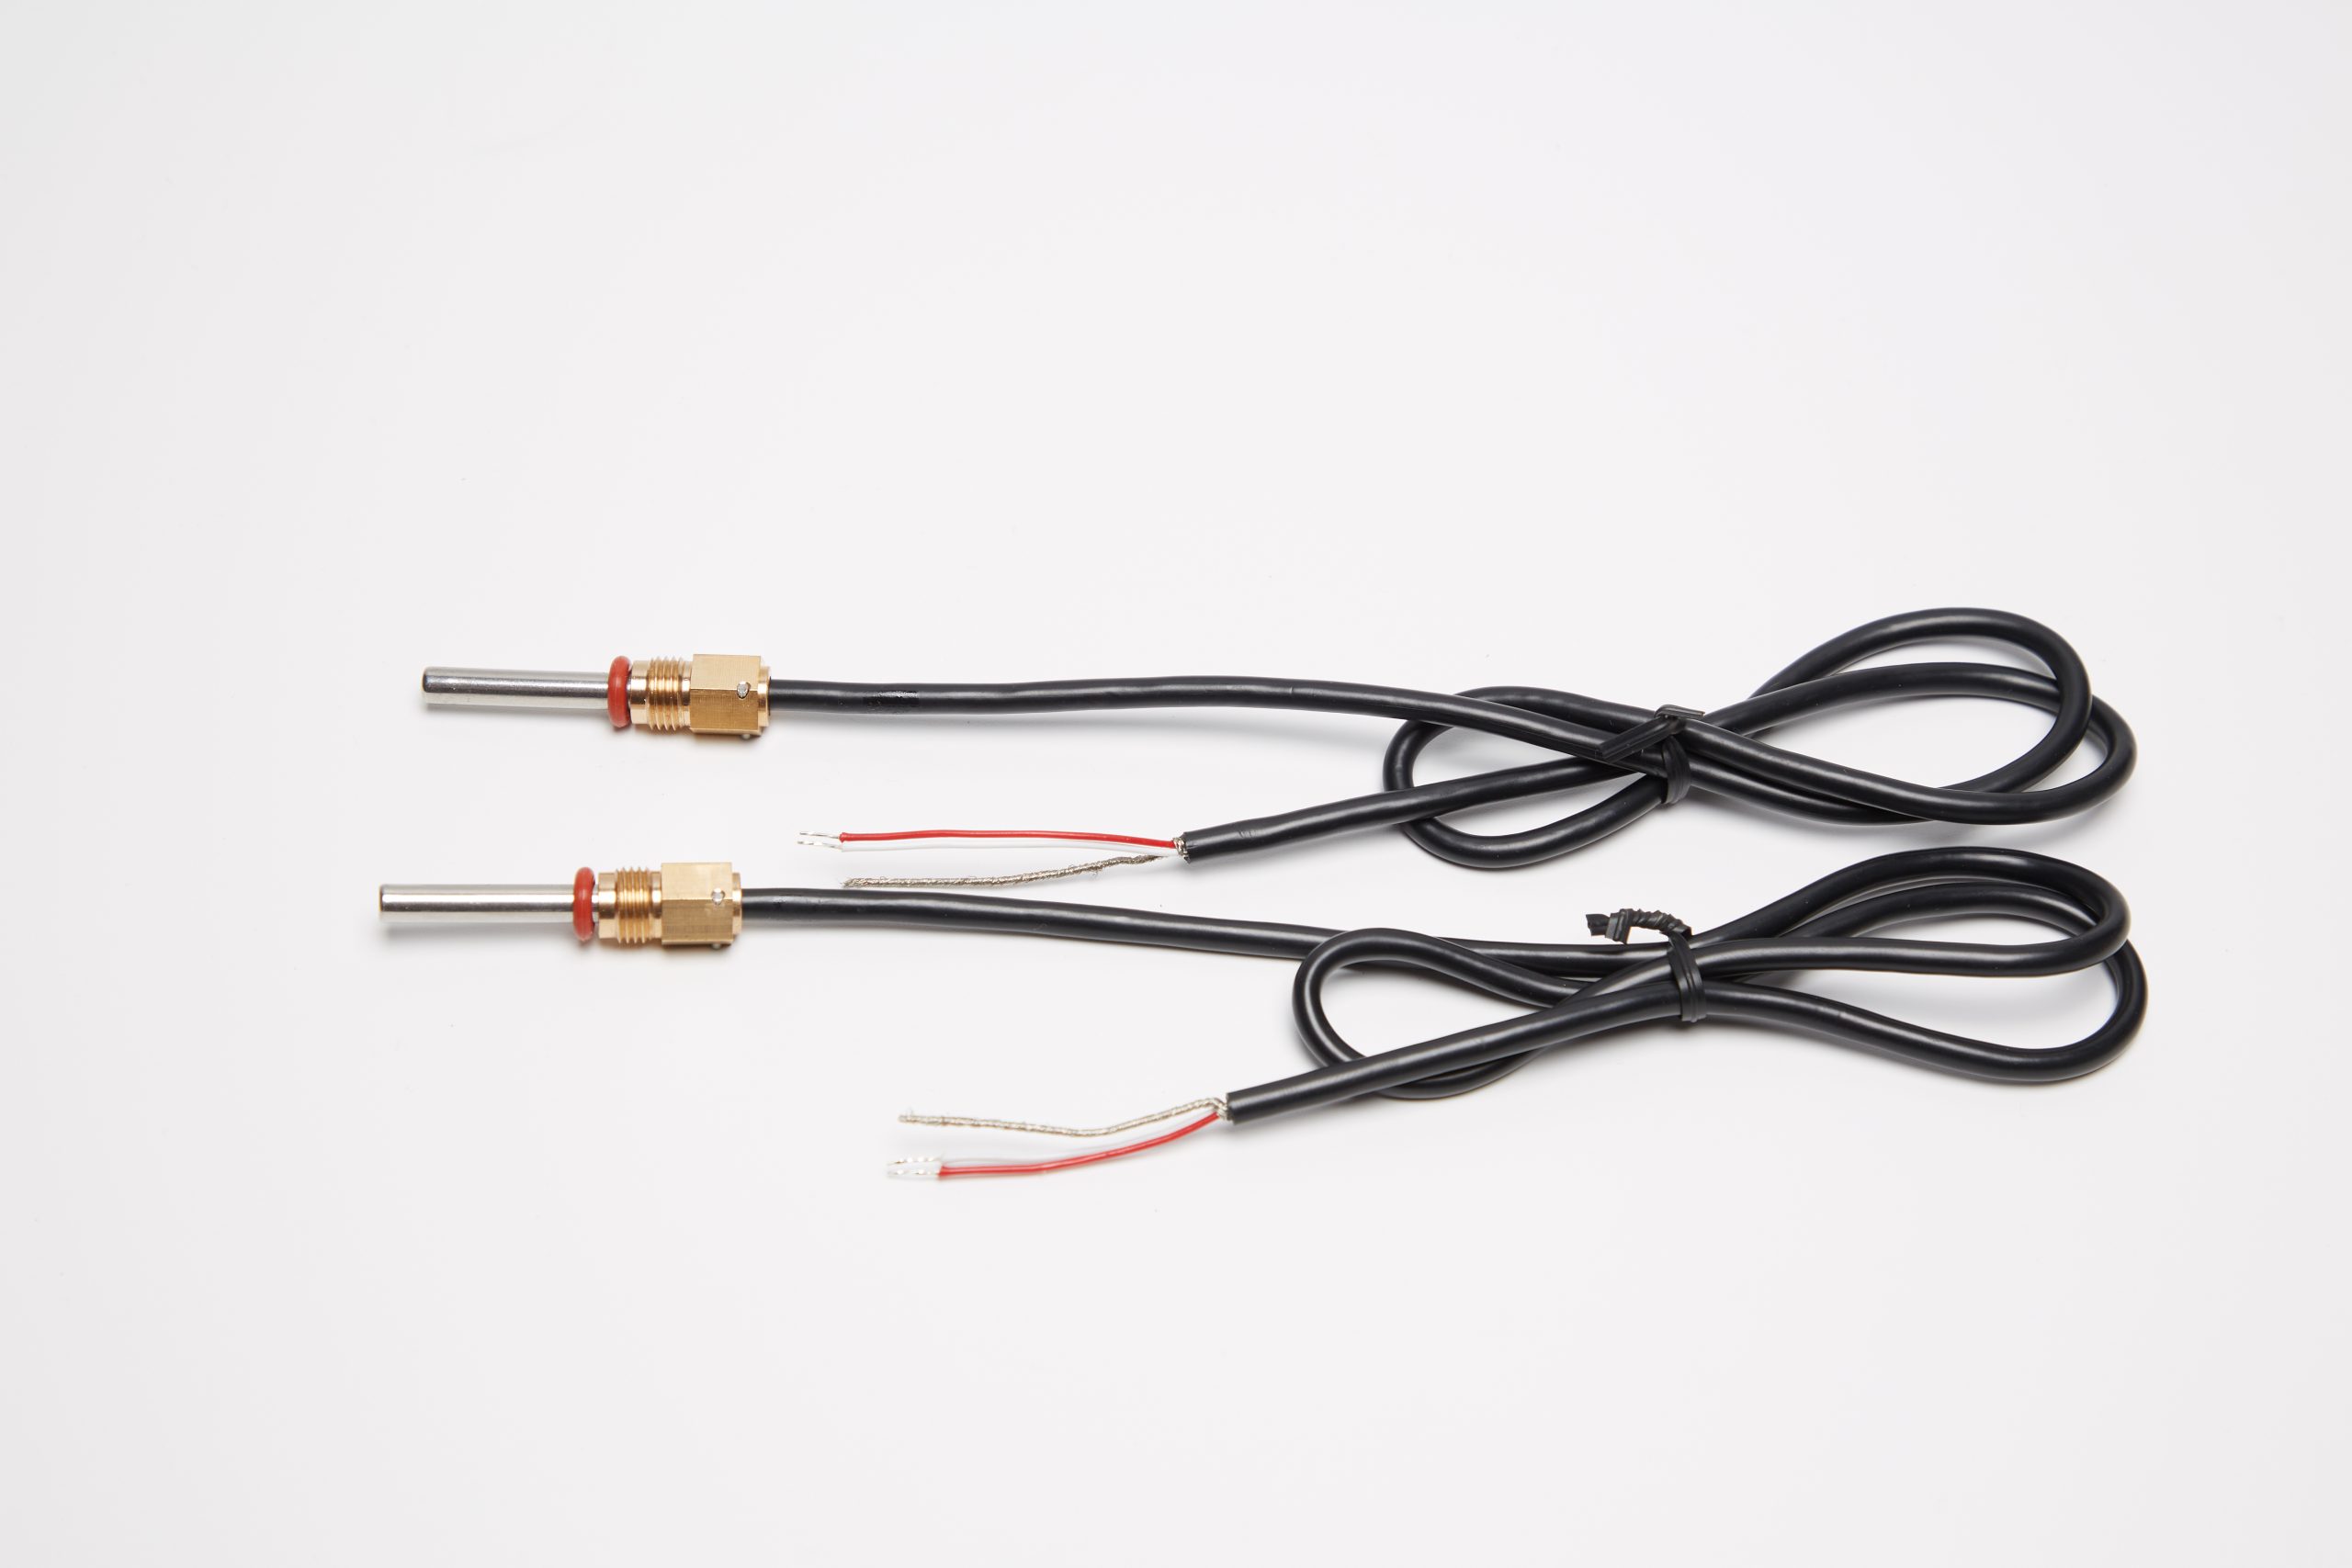
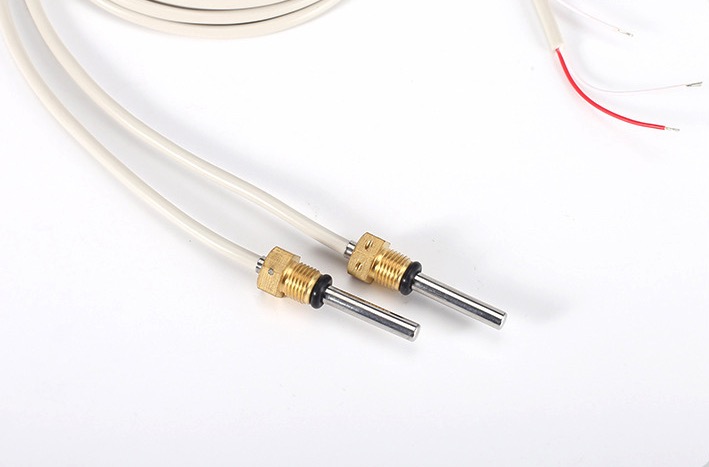
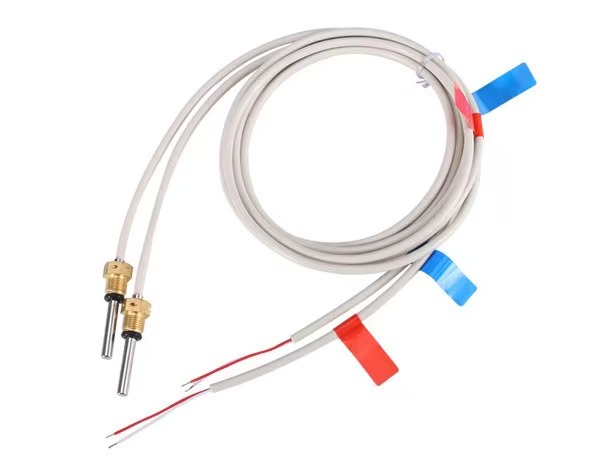
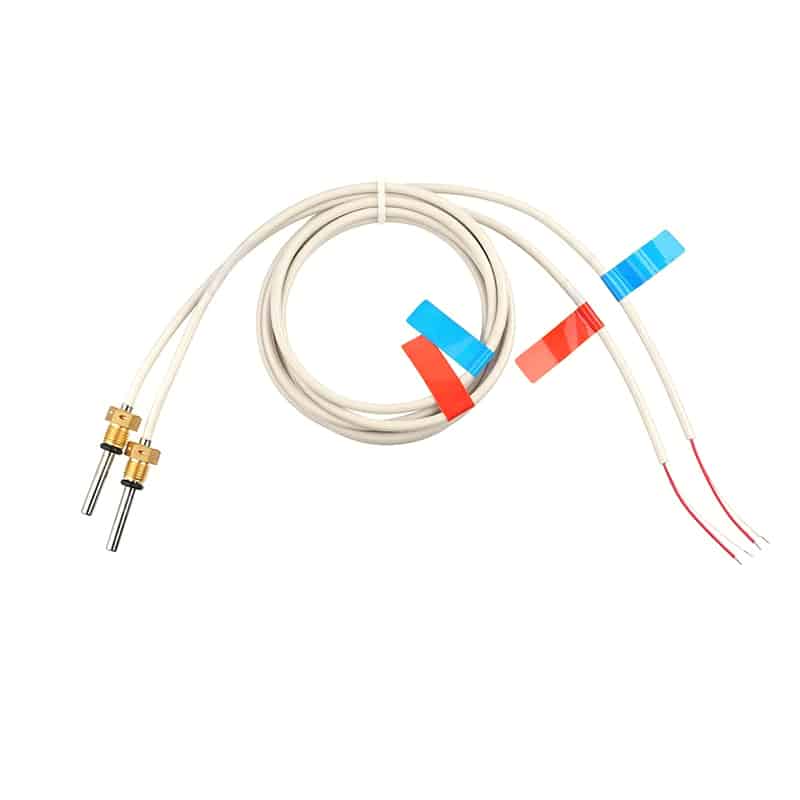
18b20 Arduino: A Comprehensive Guide to Temperature Sensing with Arduino
Article Summary:
Temperature sensing is an important aspect of many electronic systems, and it can be a bit of a challenge for beginners. In this article, we will explore how to use the 18b20 temperature sensor with Arduino, including wiring, programming, and troubleshooting. We will cover the basics of temperature measurement, calibration, and accuracy. We will also discuss some practical applications and tips for using this sensor in your projects. So, if you are interested in temperature sensing or working with Arduino, read on!
Table of Contents:
I. Introduction
II. What is the 18b20 Temperature Sensor?
III. Wiring the 18b20 Sensor with Arduino
IV. Programming the 18b20 Sensor with Arduino
V. Calibrating and Testing the 18b20 Sensor
VI. Practical Applications of the 18b20 Sensor
VII. Tips and Tricks for Successful Temperature Sensing
VIII. Conclusion
I. Introduction
Are you interested in temperature sensing or working with Arduino? If so, you have come to the right place! In this article, we will explore one of the most popular temperature sensors, the 18b20. We will cover everything you need to know to get started, from wiring and programming to calibration and testing. By the end of this article, you will have a solid understanding of how to use this sensor in your projects.
II. What is the 18b20 Temperature Sensor?
The 18b20 is a digital temperature sensor that can measure temperatures from -55°C to +125°C with an accuracy of ±0.5°C. It uses a single wire communication interface, which makes it easy to use with microcontrollers like Arduino. This sensor is widely used in various applications, including weather stations, home automation, and industrial control systems.
III. Wiring the 18b20 Sensor with Arduino
To use the 18b20 sensor with Arduino, you will need to connect it to the digital pins of your Arduino board. You can power the sensor using the 5V or 3.3V pin of the board, depending on the voltage level of your sensor. In this section, we will discuss the wiring diagram and pin configuration of the sensor.
IV. Programming the 18b20 Sensor with Arduino
After wiring the 18b20 sensor with Arduino, you need to program the board to read the temperature values from the sensor. The programming involves initializing the sensor, sending commands to read the temperature, and converting the raw data into a human-readable format. In this section, we will explore how to do all of those steps using Arduino IDE.
V. Calibrating and Testing the 18b20 Sensor
Temperature sensors can drift over time, which can affect their accuracy. To ensure reliable temperature readings, you need to calibrate and test the sensor periodically. Calibration involves comparing the sensor’s output to a known value and adjusting the calibration factor accordingly. In this section, we will show you how to calibrate and test the 18b20 sensor using a simple setup.
VI. Practical Applications of the 18b20 Sensor
The 18b20 sensor can be used in many practical applications, including weather monitoring, HVAC systems, and industrial process control. In this section, we will explore some of the most common applications of this sensor and how to use it effectively.
VII. Tips and Tricks for Successful Temperature Sensing
Temperature sensing can be a bit tricky, especially if you are new to the field. In this section, we will share some tips and tricks for successful temperature sensing with the 18b20 sensor. From proper wiring to code optimization, these tips will help you get the most out of your sensor.
VIII. Conclusion
In conclusion, the 18b20 temperature sensor is a versatile and reliable sensor that is easy to use with Arduino. By following the steps outlined in this article, you can quickly get started with temperature sensing and apply it to your own projects. Whether you are a hobbyist or a professional, this sensor is a must-have for your toolkit. So, what are you waiting for? Start exploring the world of temperature sensing today!

What Makes PT Sensors Manufacturer Solutions Stand Out in Heat Meter Applications
Introduction: PT sensors for heat meters offer ±0.1°C accuracy, customizable designs, automated quality control, and compliance with CJ 128-2007 and EN 1434 standards for reliable thermal measurement. In a


