Raspberry Pi 4 Temperature Sensor: A Guide to Monitoring Your Device’s Heat Levels
Abstract:
In this guide, we will explore the importance of monitoring the temperature of your Raspberry Pi 4 and the various ways you can use a temperature sensor to achieve this. We will provide step-by-step instructions on setting up and configuring a temperature sensor, as well as tips on optimizing your device’s performance and preventing overheating. So, let’s dive in and learn how to keep your Raspberry Pi 4 cool and functioning at its best!
Table of Contents:
1. Introduction
2. Why Temperature Monitoring Matters for Raspberry Pi 4
3. Types of Temperature Sensors for Raspberry Pi 4
4. Setting Up and Configuring a Temperature Sensor
5. Monitoring and Analyzing Temperature Data
6. Optimizing Raspberry Pi 4 Performance
7. Preventing Overheating Issues
8. Conclusion
1. Introduction
The Raspberry Pi 4 is a powerful and versatile single-board computer that can handle a wide range of tasks. However, like any electronic device, it generates heat during operation. Excessive heat can lead to performance issues, system instability, and even permanent damage to your Raspberry Pi 4. That’s why monitoring its temperature is crucial.
2. Why Temperature Monitoring Matters for Raspberry Pi 4
Temperature monitoring is essential for ensuring the longevity and optimal performance of your Raspberry Pi 4. By keeping tabs on the temperature levels, you can detect any potential overheating issues early on and take preventive measures. Moreover, monitoring temperature data allows you to optimize your device’s performance, ensuring it runs smoothly even under heavy workloads.
3. Types of Temperature Sensors for Raspberry Pi 4
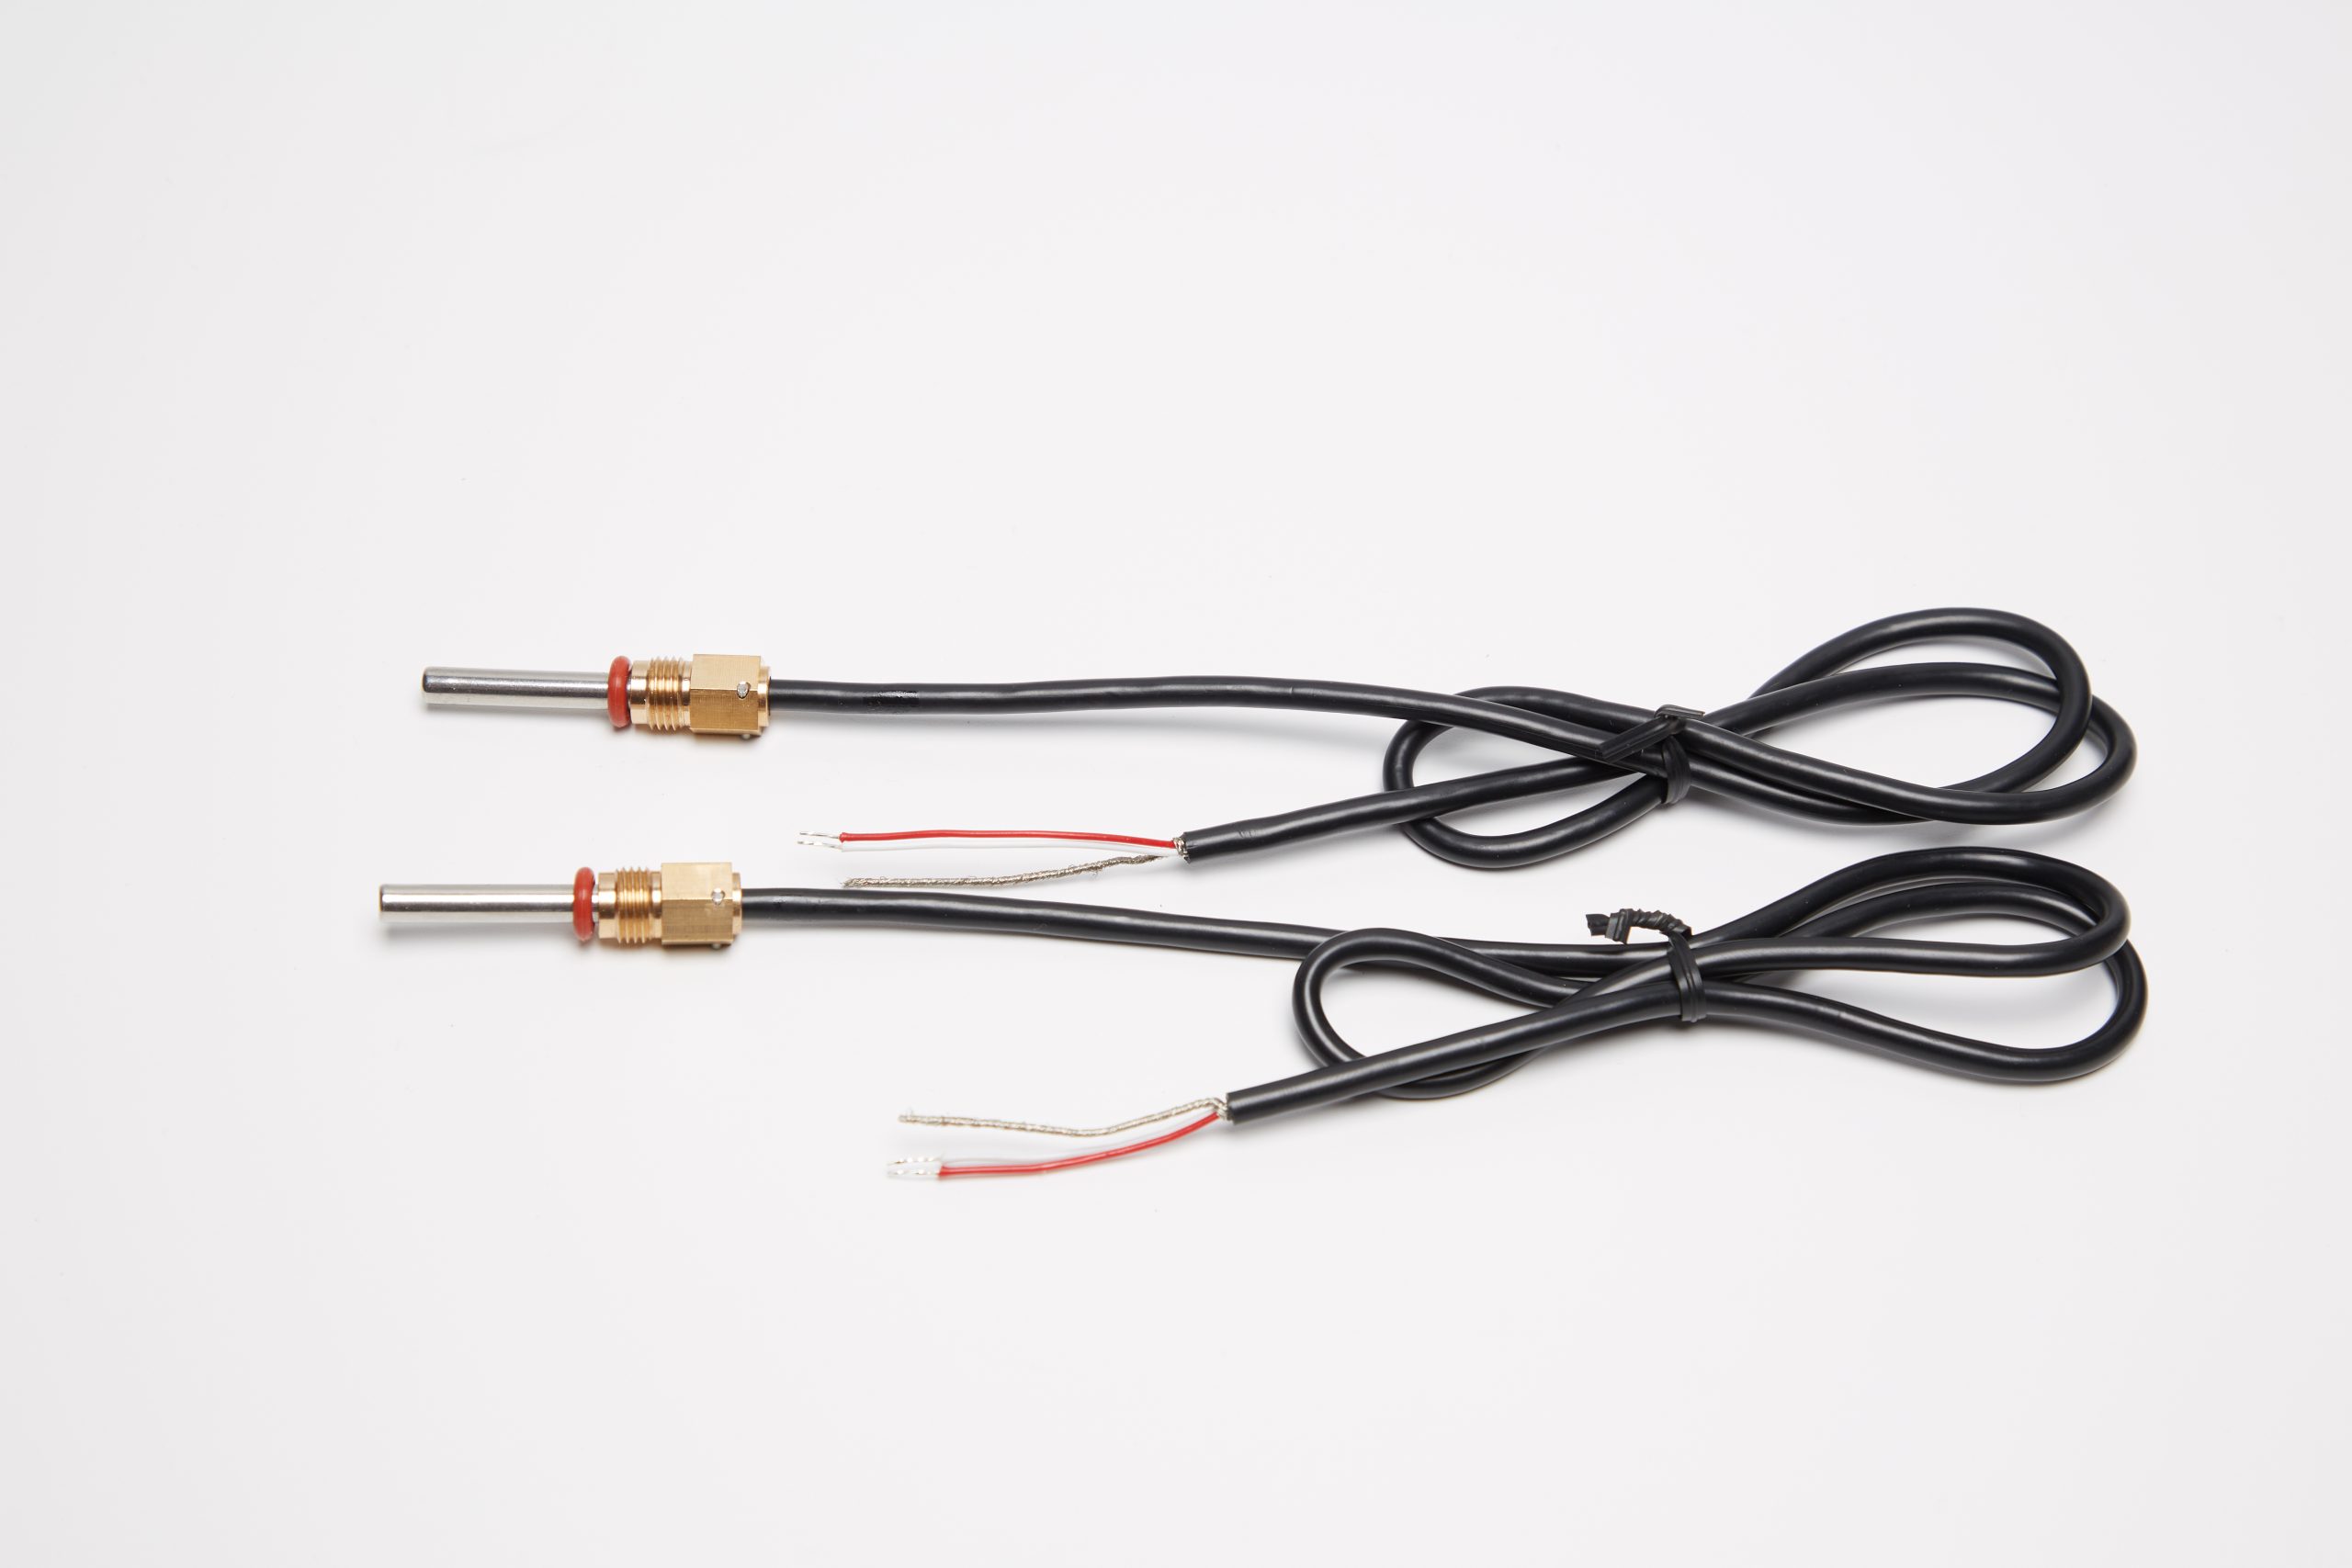
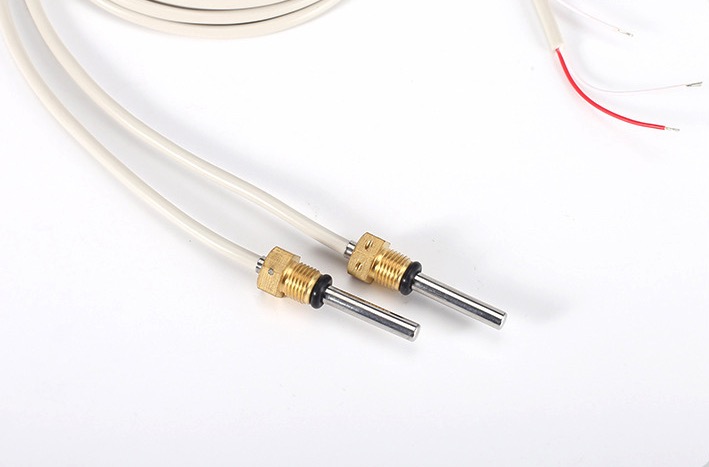
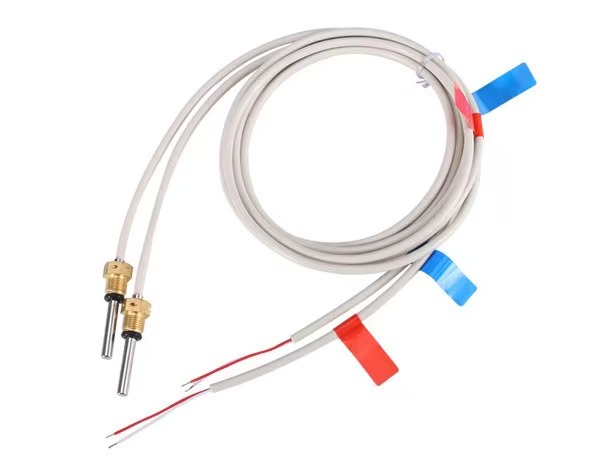
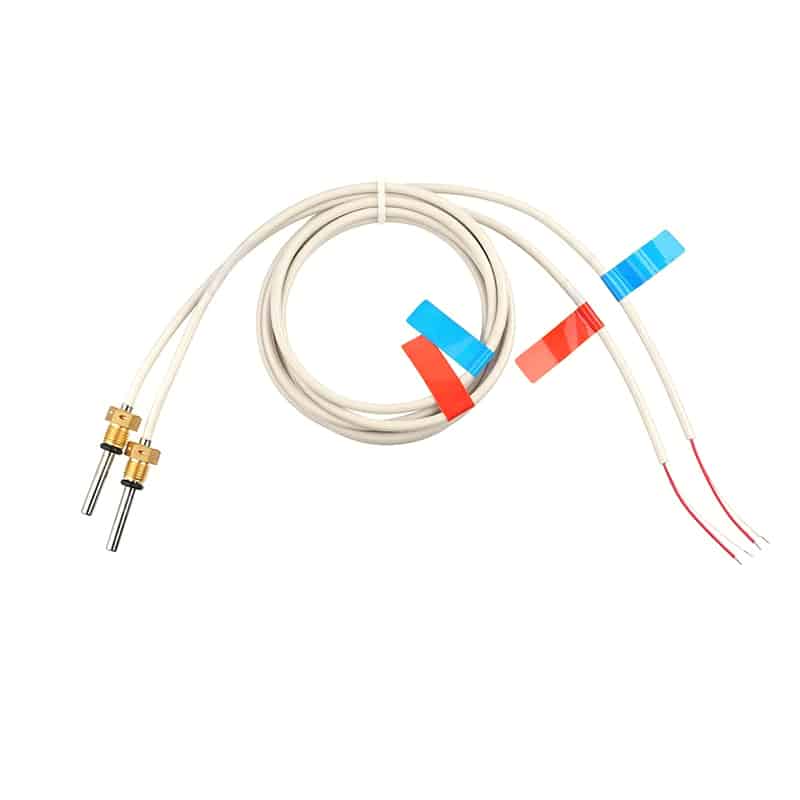
There are several temperature sensor options available for Raspberry Pi 4, including digital sensors like the DS18B20 and the DHT series. These sensors provide accurate temperature readings and offer easy integration with the Raspberry Pi through its GPIO pins. We will explore the setup and configuration process for the DS18B20 sensor in this guide.
4. Setting Up and Configuring a Temperature Sensor
Setting up a temperature sensor on your Raspberry Pi 4 is straightforward. You will need to enable the One-Wire interface, connect the sensor to the GPIO pins, and install the necessary software libraries. We will provide a detailed step-by-step guide with code snippets to help you get started quickly.
5. Monitoring and Analyzing Temperature Data
Once your temperature sensor is set up, you can start monitoring and analyzing the temperature data. We will introduce you to some popular software tools that allow you to visualize the temperature readings and track any temperature fluctuations over time. Understanding the patterns in the temperature data can help you identify potential issues and make appropriate adjustments.
6. Optimizing Raspberry Pi 4 Performance
Optimizing your Raspberry Pi 4’s performance goes hand in hand with temperature monitoring. We will discuss various techniques for improving the efficiency of your device, such as overclocking, optimizing software settings, and implementing cooling solutions. By fine-tuning your Raspberry Pi 4, you can ensure it operates at its full potential without compromising its stability.
7. Preventing Overheating Issues
Prevention is always better than cure, especially when it comes to overheating. We will share some practical tips and tricks for preventing overheating issues, including proper ventilation, heatsink installation, and fan usage. These preventive measures will help maintain a safe temperature range for your Raspberry Pi 4, even during demanding tasks.
8. Conclusion
Monitoring the temperature of your Raspberry Pi 4 is crucial for maintaining its performance and prolonging its lifespan. By using a temperature sensor and following the best practices discussed in this guide, you can ensure that your device stays cool and operates flawlessly. So, go ahead and implement these recommendations to take your Raspberry Pi 4 experience to the next level!
Remember, keeping your Raspberry Pi 4 temperature under control is the key to unlocking its full potential. Stay vigilant, monitor regularly, and enjoy exploring the endless possibilities with your reliable companion!
—
Note: This article is for educational purposes only, and we recommend following official guidelines and manufacturer recommendations when working with your Raspberry Pi 4.

What Makes PT Sensors Manufacturer Solutions Stand Out in Heat Meter Applications
Introduction: PT sensors for heat meters offer ±0.1°C accuracy, customizable designs, automated quality control, and compliance with CJ 128-2007 and EN 1434 standards for reliable thermal measurement. In a


