Arduino Temperature and Humidity Sensor OLED Display
Abstract
In this article, we will explore the Arduino temperature and humidity sensor OLED display project. We will provide a step-by-step guide on how to build the project and showcase its various applications. The main sections of this article include:
- Introduction
- Materials Needed
- Circuit Connections
- Code Implementation
- Usage and Applications
- Conclusion
Introduction
The Arduino temperature and humidity sensor OLED display project aims to create a device that can accurately measure and display real-time temperature and humidity data. It utilizes an Arduino board, a temperature and humidity sensor, and an OLED display module.
Materials Needed
- Arduino board
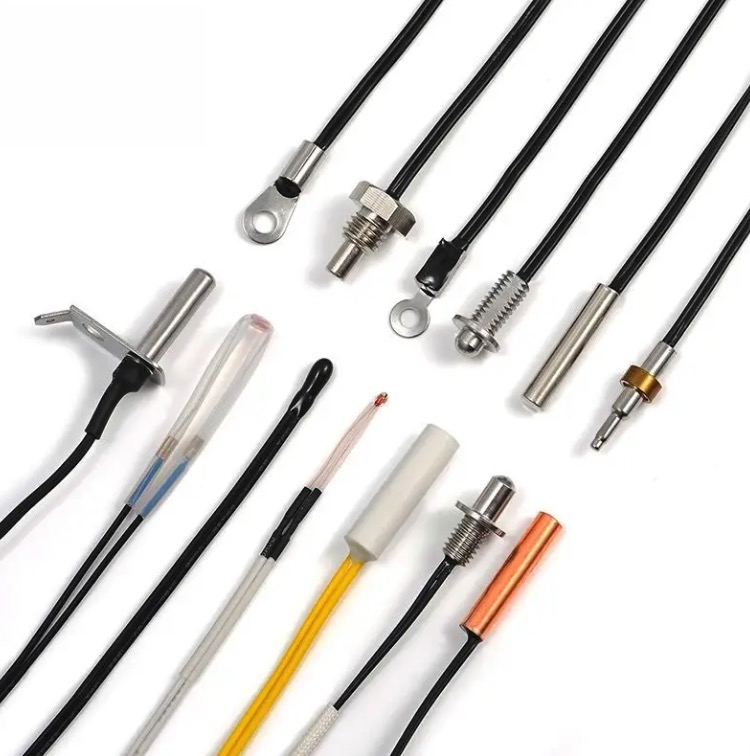
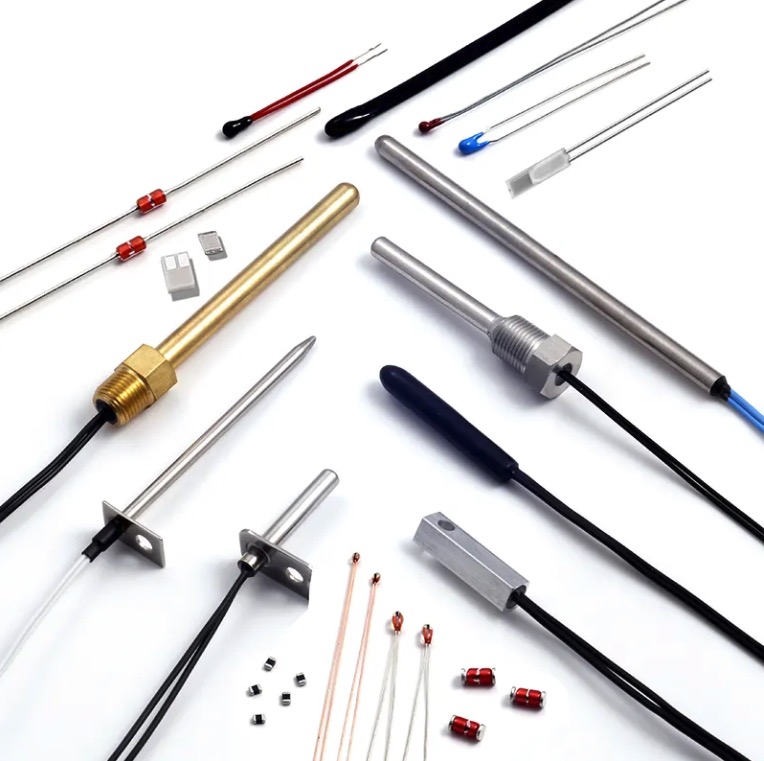
- Temperature and humidity sensor
- OLED display module
- Jumper wires
- Breadboard
Circuit Connections
To build the circuit, follow these steps:
- Connect the VCC pin of the temperature and humidity sensor to the 5V pin on the Arduino.
- Connect the GND pin of the sensor to the GND pin on the Arduino.
- Connect the data pin of the sensor to a digital pin on the Arduino.
- Connect the SDA and SCL pins of the OLED display module to their respective pins on the Arduino.
- Make sure all connections are secure.
Code Implementation
Write the following code in the Arduino IDE:
#include <Wire.h>
#include <Adafruit_GFX.h>
#include <Adafruit_SSD1306.h>
#include <DHT.h>
#define SCREEN_WIDTH 128
#define SCREEN_HEIGHT 64
Adafruit_SSD1306 display(SCREEN_WIDTH, SCREEN_HEIGHT, &Wire, -1);
#define DHTPIN 2
#define DHTTYPE DHT11
DHT dht(DHTPIN, DHTTYPE);
void setup() {
  display.begin(SSD1306_SWITCHCAPVCC, 0x3C);
  display.clearDisplay();
  display.setTextSize(1);
  display.setTextColor(WHITE);
  display.setCursor(0,0);

  dht.begin();
}
void loop() {
  float temperature = dht.readTemperature();
  float humidity = dht.readHumidity();
  display.clearDisplay();
  display.println("Temperature: " + String(temperature) + " °C");
  display.println("Humidity: " + String(humidity) + " %");
  display.display();
  delay(2000);
}
Usage and Applications
The Arduino temperature and humidity sensor OLED display has various applications:
- Home automation systems: Monitor indoor temperature and humidity for optimal comfort.
- Greenhouses: Ensure proper environmental conditions for plant growth.
- Weather stations: Collect weather data for analysis.
- Data logging: Save temperature and humidity data for further analysis.
Conclusion
In conclusion, the Arduino temperature and humidity sensor OLED display project offers a versatile and practical solution for monitoring and displaying temperature and humidity data. With its easy-to-follow instructions and wide range of applications, it is an excellent project for both beginners and experienced Arduino enthusiasts.


