Arduino Thermometer: A Comprehensive Guide to Building Your Own Temperature Monitoring Device
Abstract:
Welcome to this comprehensive guide on building your own Arduino thermometer. Whether you’re a hobbyist, an electronics enthusiast, or simply curious about temperature monitoring, this article will provide you with all the necessary information to successfully create your own thermometer using Arduino. From the basics of Arduino programming to the step-by-step instructions for building the device, we’ve got you covered. So let’s dive in and explore the fascinating world of Arduino thermometers!
Table of Contents:
1. Introduction
2. Understanding Arduino and Thermometers
3. Components Needed
4. Setting up Arduino IDE
5. Programming Your Arduino Thermometer
6. Building the Circuit
7. Testing and Calibration
8. Enhancements and Customizations
9. Conclusion
1. Introduction
In this digital age, temperature monitoring has become essential across various industries and applications. From weather forecasting to home automation, having a reliable thermometer is crucial. Arduino, an open-source electronics platform, offers a cost-effective and flexible solution for building your very own thermometer. By harnessing the power of Arduino and a few essential components, you can create a personalized temperature monitoring device that fits your specific needs.
2. Understanding Arduino and Thermometers
Before we delve into the technicalities, let’s first understand the fundamentals. Arduino is a microcontroller-based platform that allows you to control electronic circuits through coding. It provides a user-friendly interface for beginners while offering immense possibilities for advanced users. On the other hand, a thermometer is a device used to measure temperature accurately. By combining Arduino with appropriate sensors and modules, we can create a thermometer capable of measuring temperature with high precision.
3. Components Needed
To start your Arduino thermometer project, you will need the following components:
– Arduino board (e.g., Arduino Uno)
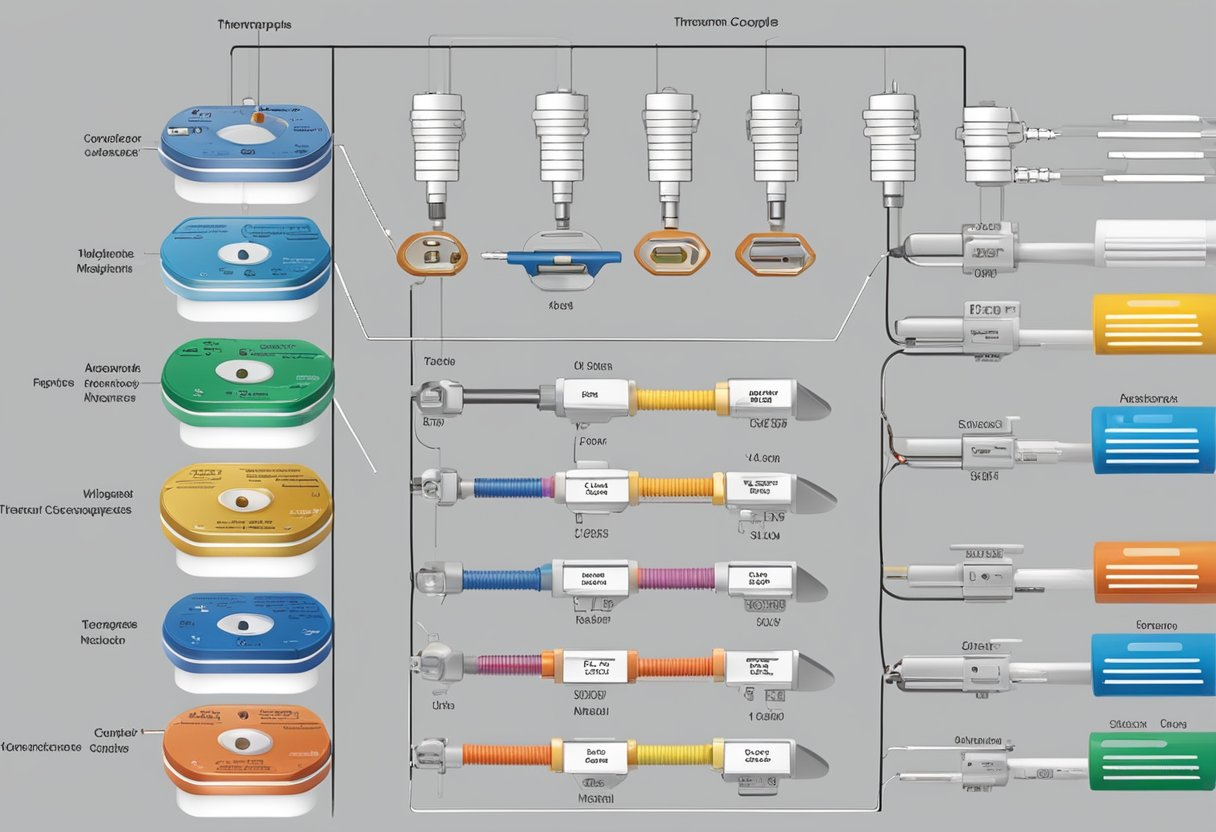
– Temperature sensor (e.g., DS18B20)
– Breadboard and jumper wires
– LCD display (optional)
– Resistor and capacitor (for noise reduction)
These components are readily available in electronic stores or online platforms. Ensure you have them before proceeding further.
4. Setting up Arduino IDE
Arduino IDE (Integrated Development Environment) is the software used for programming Arduino boards. It provides an intuitive platform for writing, compiling, and uploading your code. After connecting your Arduino board to your computer, download and install the latest version of the Arduino IDE from the official website. Once installed, select the appropriate board and port from the Tools menu to establish a connection.
5. Programming Your Arduino Thermometer
Now comes the exciting part – programming your Arduino thermometer. In this step, we will write the code that enables the Arduino board to read temperature data from the sensor and display it on the LCD screen (if applicable). The code will involve initializing the necessary libraries, defining variables, reading sensor values, and displaying them. Feel free to customize the code according to your preferences and requirements.
6. Building the Circuit
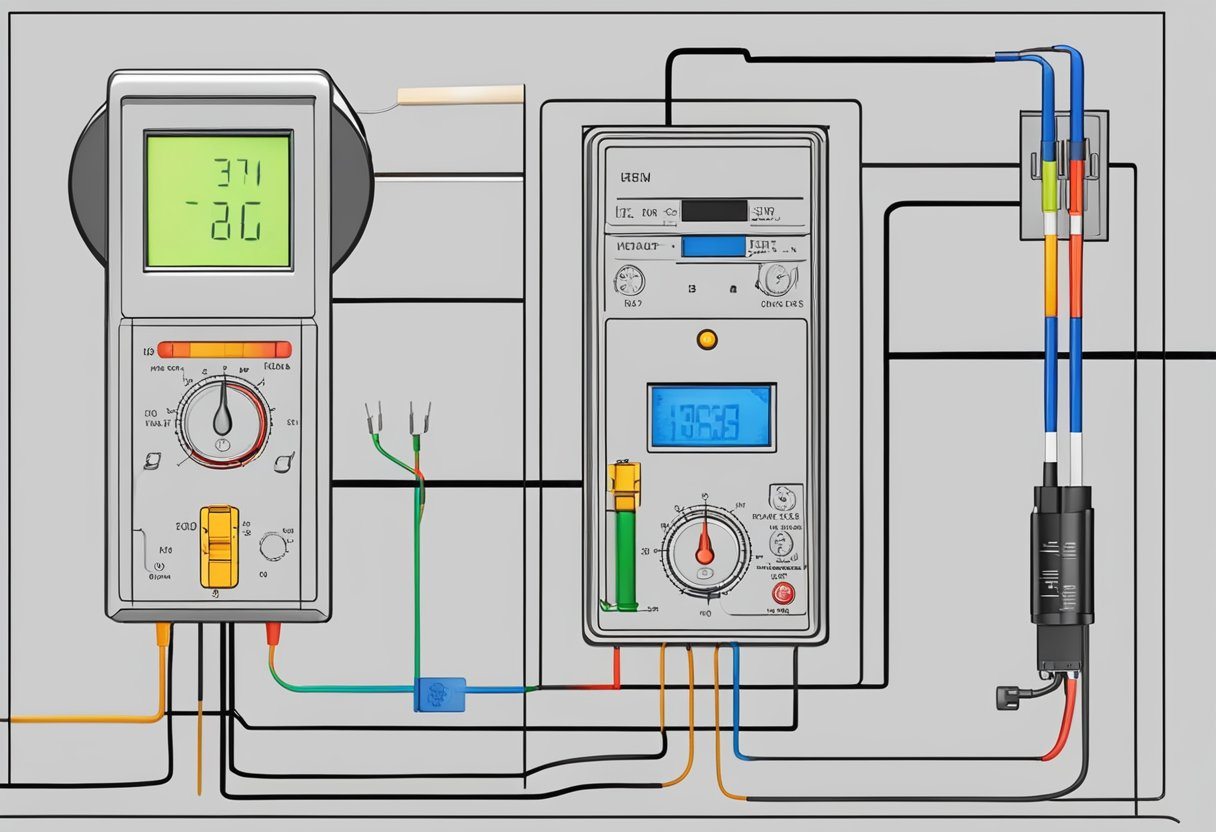
After successfully programming your Arduino, it’s time to assemble the circuit. Follow the provided schematic diagram and connect the components accordingly. Take extra care to ensure the correct wiring, as any mistakes can affect the accuracy and functionality of your thermometer. Utilize the breadboard for prototyping before making permanent connections.
7. Testing and Calibration
With the physical build completed, it’s time to test and calibrate your Arduino thermometer. Upload the code onto your Arduino board and verify if the temperature readings are accurate. You can perform this by comparing the readings with a trusted thermometer. If any discrepancies exist, adjust the calibration values in the code and repeat the process until satisfactory results are achieved.
8. Enhancements and Customizations
Now that you’ve successfully created your Arduino thermometer, consider exploring enhancements and customizations. You can integrate additional sensors, expand the display capabilities, or even connect your thermometer to other devices for data logging and remote monitoring. Arduino’s vast ecosystem provides countless possibilities to take your project to the next level.
9. Conclusion
Congratulations! You have reached the end of this comprehensive guide on building your own Arduino thermometer. By following the steps outlined in this article, you now possess the knowledge and skills to create a reliable temperature monitoring device using Arduino. So go ahead, unleash your creativity, and embark on exciting projects that leverage the power of Arduino and its limitless potential. Happy tinkering!
Remember, understanding the principles behind Arduino thermometers is just the beginning. With practice and continuous learning, you can explore more advanced concepts and applications. So don’t be afraid to experiment, embrace challenges, and push the boundaries of what’s possible with Arduino. Let your imagination soar as you embark on this thrilling journey into the world of electronics and temperature monitoring.

The Rise of Smart Home Temperature Sensors: Chinese Manufacturers Leading the Future of Home Automation
The integration of smart home technology has transformed daily living, making homes more efficient and responsive. As consumers increasingly seek comfort and convenience, smart home temperature sensors have emerged as


