k type thermocouple arduino: A Comprehensive Guide to Temperature Sensing with Arduino
Abstract: Welcome to our comprehensive guide on using k type thermocouples with Arduino for accurate temperature sensing. In this article, we will explore the basics of thermocouples, explain how they work, and provide step-by-step instructions on how to interface an Arduino board with a k type thermocouple sensor. Whether you are an electronics enthusiast or a beginner in Arduino programming, this guide will equip you with the necessary knowledge to effectively measure and monitor temperature with precision.
Table of Contents
- Introduction to K Type Thermocouples
- Understanding the Arduino Platform
- Connecting the K Type Thermocouple Sensor
- Programming the Arduino for Temperature Sensing
- Calibrating and Interpreting Temperature Readings
- Enhancing Accuracy and Performance
Introduction to K Type Thermocouples
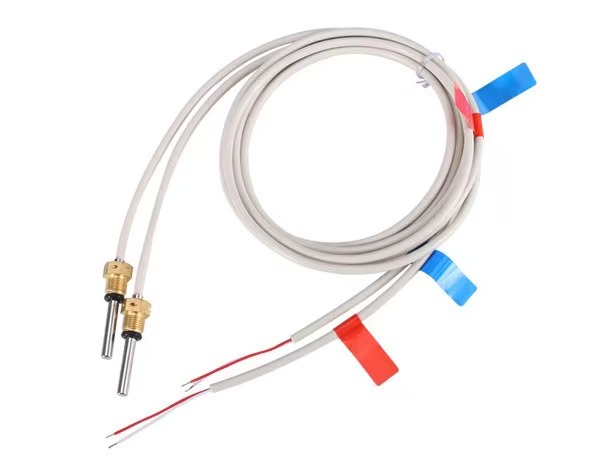
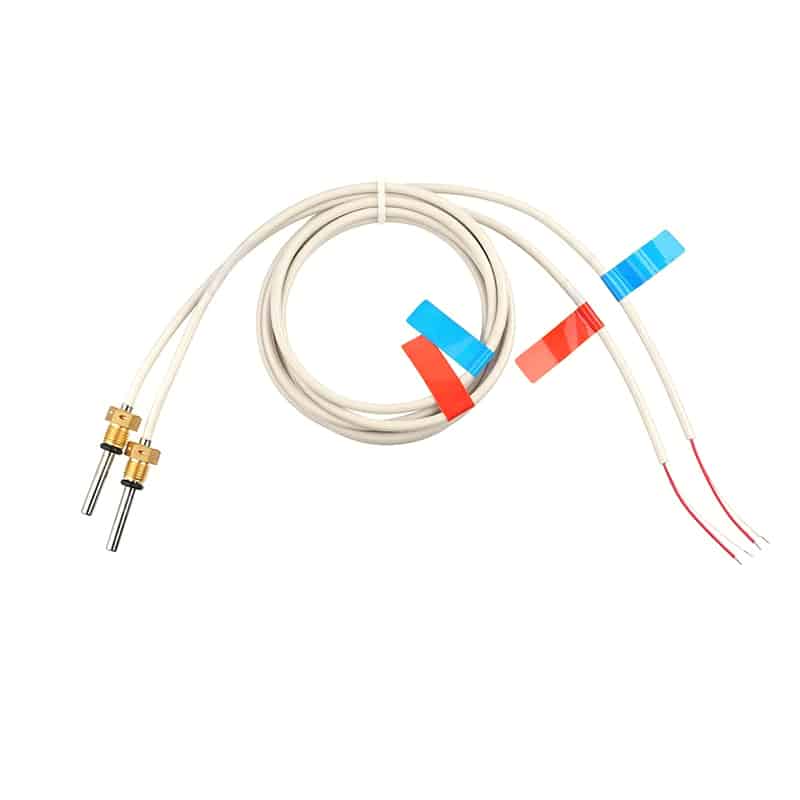
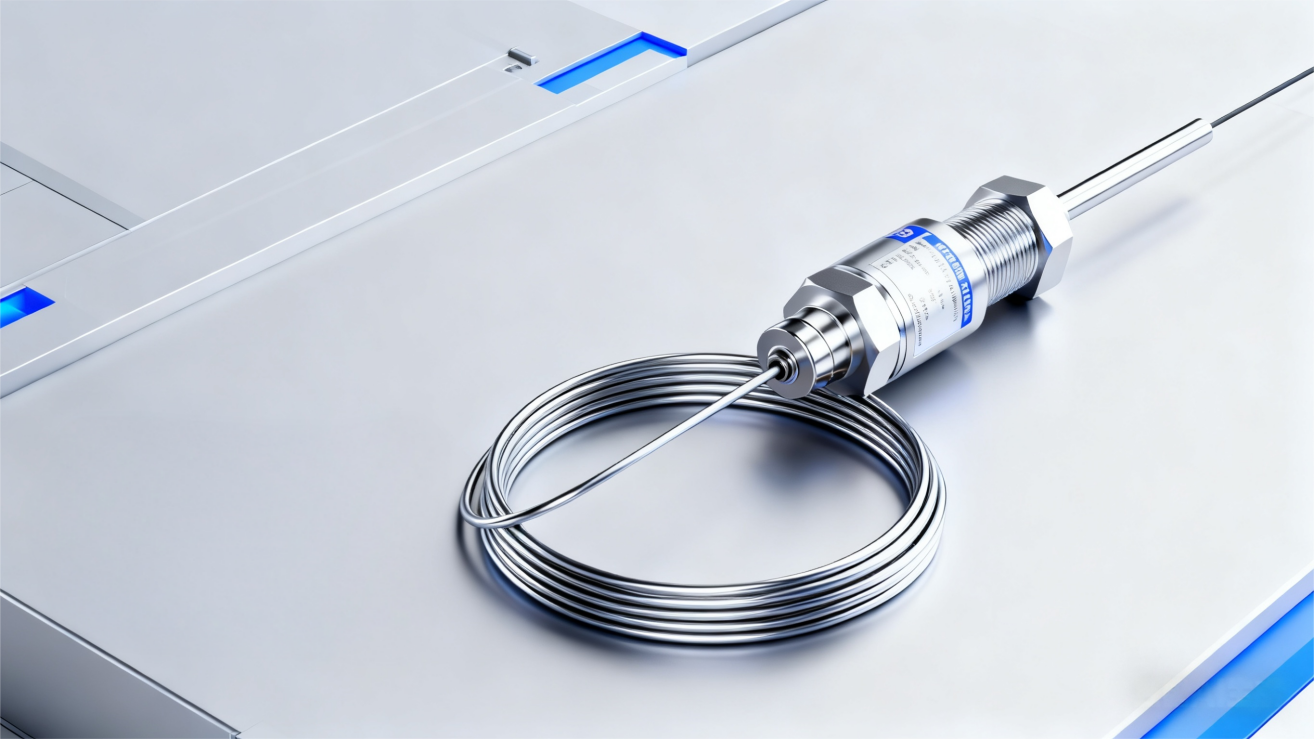
K type thermocouples are widely used temperature sensors in various industries due to their accuracy, reliability, and wide temperature range capability. They consist of two different metal wires (usually chromel and alumel) joined together, which generate a voltage proportional to the temperature difference between the measurement junction and the reference junction.
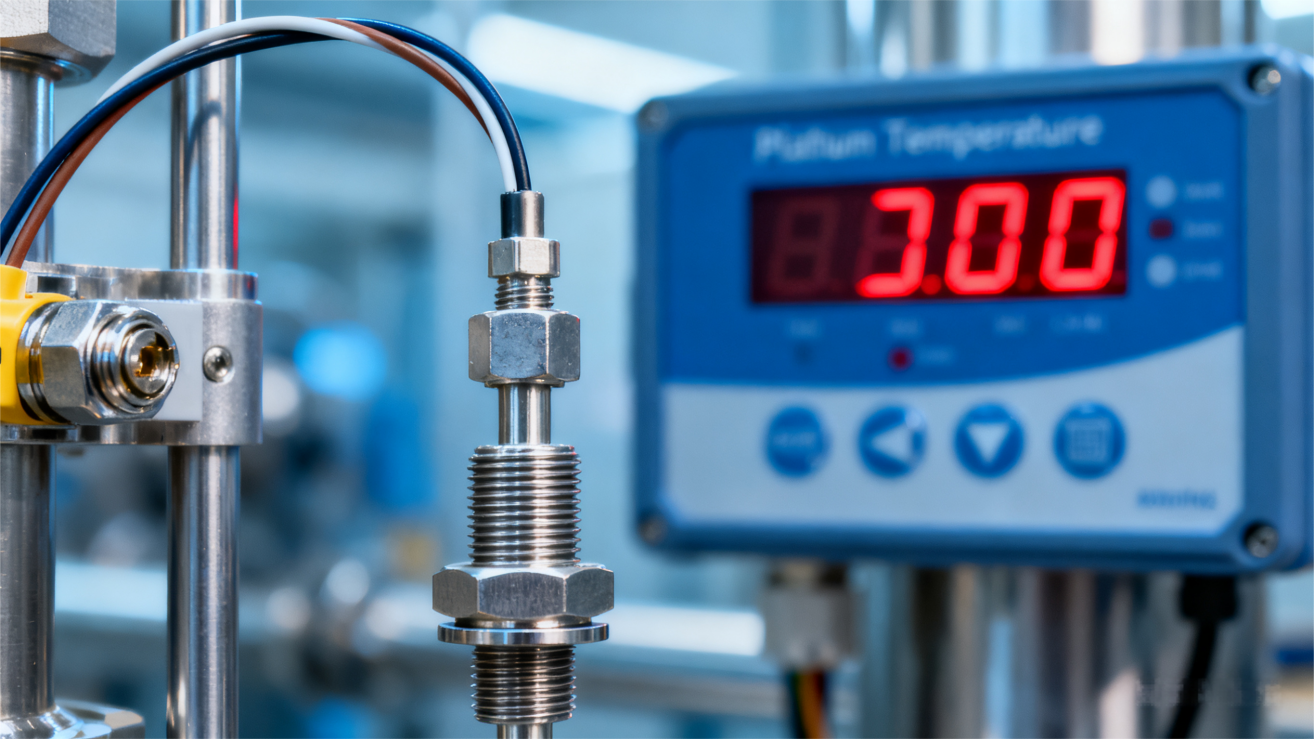
With their compatibility with high temperatures, k type thermocouples are commonly employed in applications such as industrial process control, HVAC systems, and scientific research. By leveraging the power of Arduino, we can easily interface and utilize these thermocouples for temperature sensing in our projects.
Understanding the Arduino Platform
Before we dive into connecting a k type thermocouple sensor to Arduino, let’s familiarize ourselves with the Arduino platform. Arduino is an open-source electronics development board that allows us to create interactive projects by controlling physical components.
With its user-friendly programming environment and abundant libraries, Arduino provides an accessible platform for hobbyists, makers, and professionals alike. It is highly versatile and can be utilized in numerous applications, including temperature sensing using thermocouples.
Connecting the K Type Thermocouple Sensor
Now that we have a basic understanding of k type thermocouples and Arduino, let’s proceed to connect the thermocouple sensor to the Arduino board.
Step 1: Gather the necessary components, including an Arduino board, a k type thermocouple sensor, a MAX31855 thermocouple amplifier module, and jumper wires.
Step 2: Connect the thermocouple’s positive (red) wire to the VCC pin on the MAX31855 module, the negative (blue) wire to the GND pin, and the thermocouple’s data (yellow) wire to the SO pin.
Step 3: Connect the MAX31855 module to the Arduino board by connecting the CS pin to digital pin 10, the SCK pin to digital pin 13, and the MISO pin to digital pin 12.
Step 4: Finally, connect the Arduino board to your computer via a USB cable to power it up.
Programming the Arduino for Temperature Sensing
With the hardware setup complete, it’s time to program the Arduino board to read temperature data from the k type thermocouple sensor.
Step 1: Install the required libraries. Open the Arduino IDE and navigate to “Sketch” > “Include Library” > “Manage Libraries.” Search for “Adafruit MAX31855” and install the library.
Step 2: Create a new Arduino sketch and import the necessary libraries using the following code:
#include <Adafruit_MAX31855.h>
// Define the hardware connections
int thermoDO = 12;
int thermoCS = 10;
int thermoCLK = 13;
// Initialize the MAX31855 thermocouple module object
Adafruit_MAX31855 thermocouple(thermoCLK, thermoCS, thermoDO);
Step 3: In the Arduino setup() function, initialize the serial communication and print a header for the temperature readings:
void setup() {
  Serial.begin(9600);
  Serial.println("K Type Thermocouple Arduino Temperature Readings");
  Serial.println("-------------------------------------------------");
}
Step 4: In the Arduino loop() function, read the temperature from the thermocouple sensor and display the readings:
void loop() {
  // Read the temperature from the thermocouple
  double celsius = thermocouple.readCelsius();

  // Display the temperature in Celsius and Fahrenheit
  Serial.print("Temperature: ");
  Serial.print(celsius);
  Serial.print(" °Ct");

  double fahrenheit = thermocouple.readFahrenheit();
  Serial.print(fahrenheit);
  Serial.println(" °F");

  delay(1000); // Delay for one second
}
Step 5: Upload the code to the Arduino board and open the Serial Monitor. You should see continuous temperature readings from the k type thermocouple sensor displayed in both Celsius and Fahrenheit.
Calibrating and Interpreting Temperature Readings
Although the Arduino and k type thermocouple combination provides accurate temperature readings, calibration is essential to ensure precision and eliminate any potential offset errors.
To calibrate your setup, compare the temperature readings with a known reference temperature using a reliable thermometer or a thermocouple simulator. Adjust the temperature offset in the code accordingly until the readings match.
Additionally, it’s crucial to consider the reference junction compensation (cold junction compensation) to obtain accurate measurements. The MAX31855 module compensates for this automatically, but it’s essential to keep the reference junction temperature stable during operation.
Enhancing Accuracy and Performance
To enhance the accuracy and performance of your temperature sensing system, consider the following tips:
- Shielding: Keep the thermocouple wires and amplifier module away from electromagnetic interference sources to prevent noise and inaccuracies.
- Thermocouple Extension: If your application demands long distances between the thermocouple sensor and the Arduino, use thermocouple extension wire to maintain accurate temperature measurements.
- Ground Loops: Avoid ground loops by ensuring a single common ground connection between the thermocouple sensor, Arduino board, and power supply.
- Signal Conditioning: Implement signal conditioning techniques like low-pass filtering and averaging to improve the signal quality and reduce noise.
By following these practices, you can achieve precise temperature sensing with your Arduino and k type thermocouple setup.
Conclusion:
In this comprehensive guide, we have explored the fundamentals of k type thermocouples and their compatibility with Arduino for temperature sensing purposes. You have learned how to connect the thermocouple sensor to Arduino, program the board to read temperature data, and enhance the accuracy of your measurements. With this knowledge, you can now integrate temperature sensing capabilities into your projects with ease. Harness the power of k type thermocouples and Arduino to monitor and control temperature in various applications, ranging from industrial automation to home automation.
References:
[1] Adafruit Industries. “Arduino Library for MAX31855 Thermocouple Amplifier.” Adafruit Industries, https://github.com/adafruit/Adafruit-MAX31855-library
[2] HowToMechatronics. “Arduino MAX31855 Thermocouple Interface Tutorial.” HowToMechatronics, https://howtomechatronics.com/tutorials/arduino/arduino-and-max31855-thermocouple-interface-tutorial/


