Raspberry Pi Pico DS18B20: The Ultimate Guide to Temperature Monitoring
Introduction:
Welcome to the ultimate guide on using the Raspberry Pi Pico and DS18B20 temperature sensor for precise temperature monitoring. In this comprehensive article, we will explore everything you need to know about setting up the Raspberry Pi Pico with the DS18B20 sensor and utilizing its full potential. Whether you are a beginner or an experienced user, this guide will help you achieve accurate temperature measurements and enhance your projects.
Table of Contents:
1. Introduction
2. Getting Started
2.1 Raspberry Pi Pico: An Overview
2.2 DS18B20 Temperature Sensor: Features and Benefits
3. Setting Up Raspberry Pi Pico
3.1 Installing MicroPython on Raspberry Pi Pico
3.2 Wiring the DS18B20 Sensor to Raspberry Pi Pico
4. Coding in MicroPython
4.1 Configuring One-Wire Communication
4.2 Reading Temperature Data
4.3 Calibrating and Displaying Temperature Readings
5. Advanced Techniques
5.1 Multiple DS18B20 Sensors Integration
5.2 Implementing Alarm Systems
6. Troubleshooting and Tips
6.1 Common Issues and Solutions
6.2 Best Practices for Accurate Temperature Monitoring
7. Conclusion
Section 1: Introduction
In this digital age where accurate temperature monitoring plays a crucial role in various industries, the combination of Raspberry Pi Pico and DS18B20 temperature sensor offers an affordable and reliable solution. Whether you are working on home automation, greenhouse control, or even brewing your own beer, understanding how to utilize these tools effectively can greatly enhance your projects.
Section 2: Getting Started
2.1 Raspberry Pi Pico: An Overview
The Raspberry Pi Pico is a powerful microcontroller board designed for a variety of projects. It features the RP2040 microcontroller chip, developed by Raspberry Pi, which provides flexible I/O options and supports MicroPython as its programming language. With its compact size and low power consumption, the Raspberry Pi Pico is an excellent choice for temperature monitoring applications.
2.2 DS18B20 Temperature Sensor: Features and Benefits
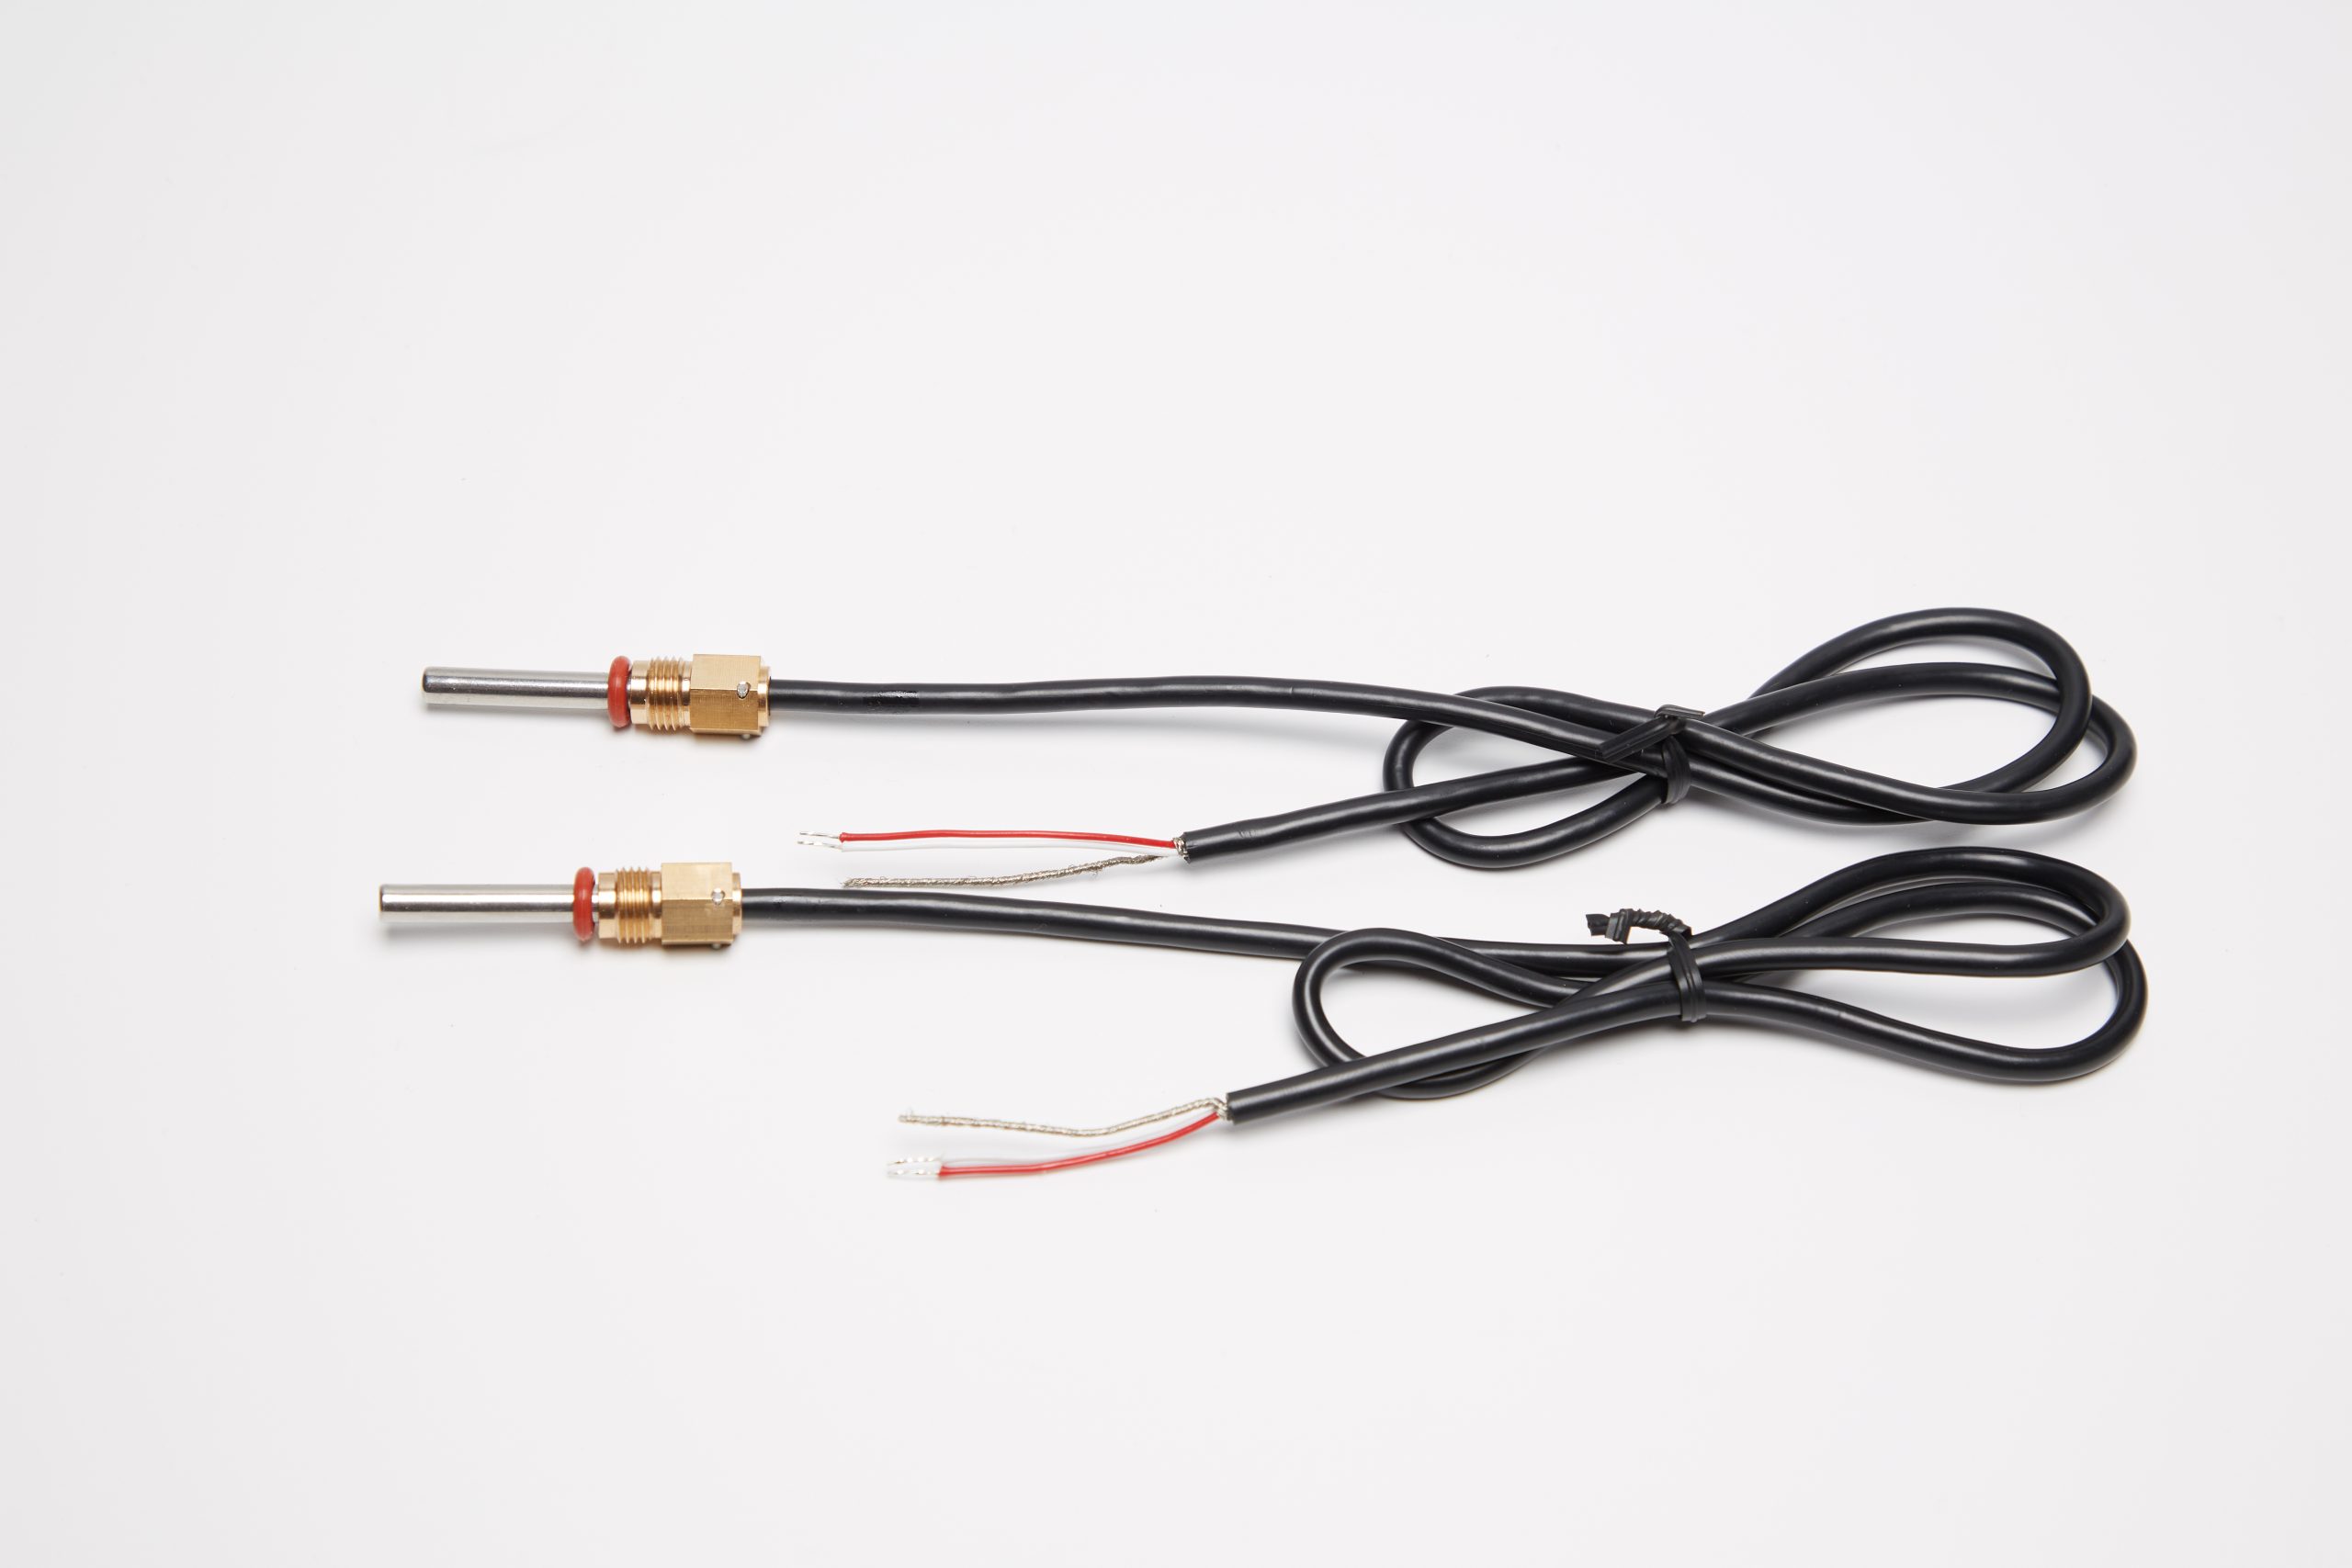
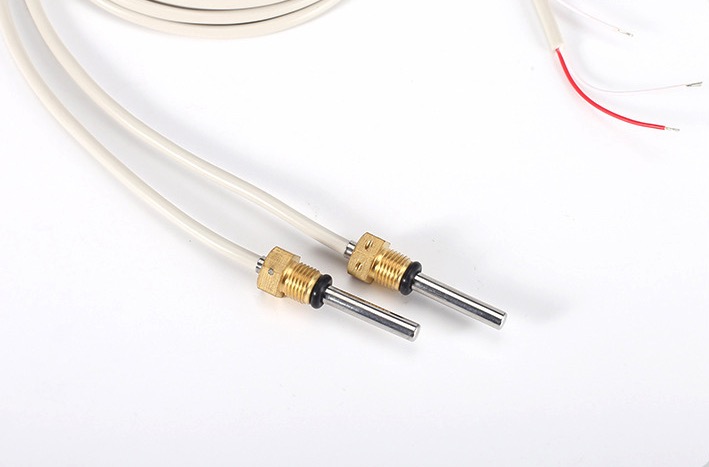
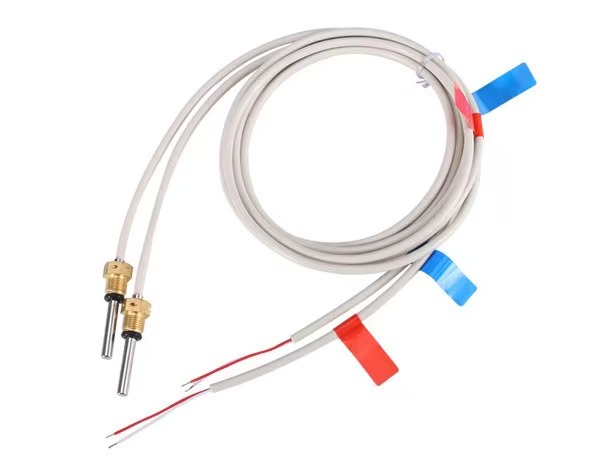
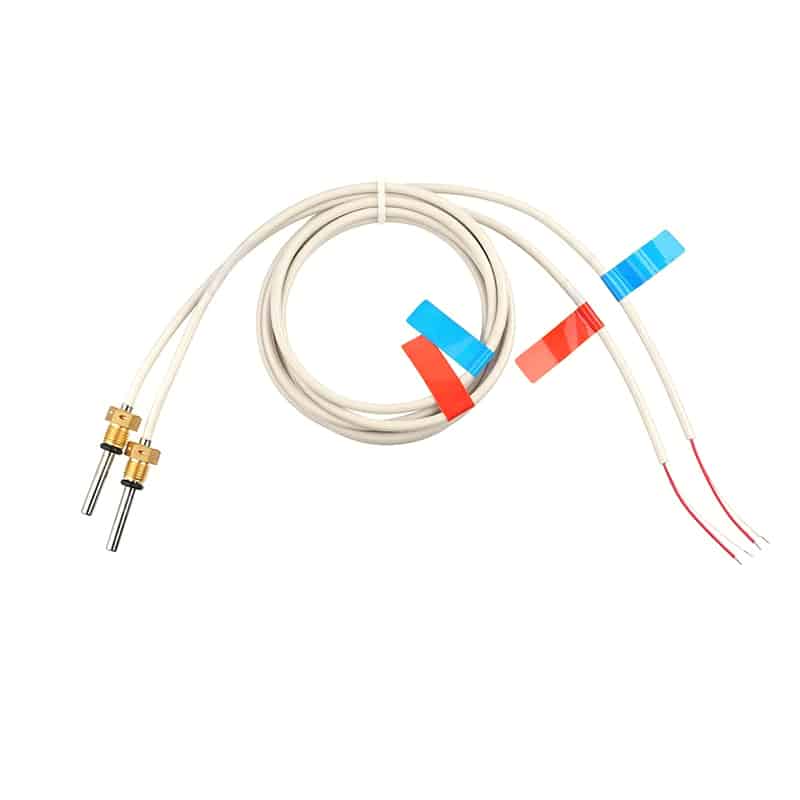
The DS18B20 is a digital temperature sensor that uses the highly accurate 1-Wire protocol for communication. It can measure temperatures ranging from -55°C to +125°C with a high accuracy of ±0.5°C. Additionally, the DS18B20 sensor is waterproof and can be easily integrated into various environments, making it ideal for outdoor applications.
Section 3: Setting Up Raspberry Pi Pico
3.1 Installing MicroPython on Raspberry Pi Pico
Before we begin, make sure you have the latest version of MicroPython installed on your Raspberry Pi Pico. MicroPython is a lightweight implementation of the Python programming language optimized for microcontrollers. It provides a simple yet powerful platform for interacting with hardware and sensors.
3.2 Wiring the DS18B20 Sensor to Raspberry Pi Pico
To connect the DS18B20 sensor to the Raspberry Pi Pico, you will need three wires: 3V3 (power), GND (ground), and GPIO (data). Follow the wiring diagram provided in the official documentation to ensure correct connections. Once the DS18B20 sensor is properly connected, we can move on to coding in MicroPython.
Section 4: Coding in MicroPython
4.1 Configuring One-Wire Communication
To enable communication with the DS18B20 sensor, we need to configure the Raspberry Pi Pico to support the 1-Wire protocol. This involves initializing the GPIO pin and setting up the necessary functions for reading temperature data.
4.2 Reading Temperature Data
Once the Raspberry Pi Pico is configured, we can start reading temperature data from the DS18B20 sensor. By implementing a few lines of code, we can easily retrieve temperature readings in either Celsius or Fahrenheit.
4.3 Calibrating and Displaying Temperature Readings
To ensure accurate temperature measurements, it is essential to calibrate the DS18B20 sensor. This can be done by comparing the readings with a known reference temperature and applying a correction factor if necessary. Once calibrated, we can display the temperature readings on a compatible output device, such as an LCD or OLED display.
Section 5: Advanced Techniques
5.1 Multiple DS18B20 Sensors Integration
If you need to monitor temperatures at different locations simultaneously, you can integrate multiple DS18B20 sensors into your project. By assigning unique IDs to each sensor and implementing proper addressing techniques, you can individually access and read temperature data from multiple sensors.
5.2 Implementing Alarm Systems
To enhance the functionality of your temperature monitoring system, you can implement alarm systems to trigger alerts when certain conditions are met. For example, you can set upper and lower temperature thresholds and receive notifications when these thresholds are exceeded. This can be achieved through integrating additional components such as buzzers or sending alerts via email or SMS.
Section 6: Troubleshooting and Tips
6.1 Common Issues and Solutions
While working with the Raspberry Pi Pico and DS18B20 sensor, you may encounter some common issues. This section provides solutions to troubleshoot problems such as incorrect temperature readings, connectivity issues, or compatibility conflicts.
6.2 Best Practices for Accurate Temperature Monitoring
To achieve accurate temperature monitoring, it is important to follow certain best practices. This section covers tips and recommendations for optimal sensor placement, shielding from external factors, calibration frequency, and data logging strategies.
Conclusion:
In conclusion, the combination of Raspberry Pi Pico and DS18B20 temperature sensor offers a powerful solution for temperature monitoring applications. By following the steps outlined in this guide, you can confidently set up your temperature monitoring system, read and display accurate temperature data, and even implement advanced features like multiple sensor integration and alarm systems. Get started with your projects today and unlock the full potential of temperature monitoring with Raspberry Pi Pico and DS18B20!

What Makes PT Sensors Manufacturer Solutions Stand Out in Heat Meter Applications
Introduction: PT sensors for heat meters offer ±0.1°C accuracy, customizable designs, automated quality control, and compliance with CJ 128-2007 and EN 1434 standards for reliable thermal measurement. In a


