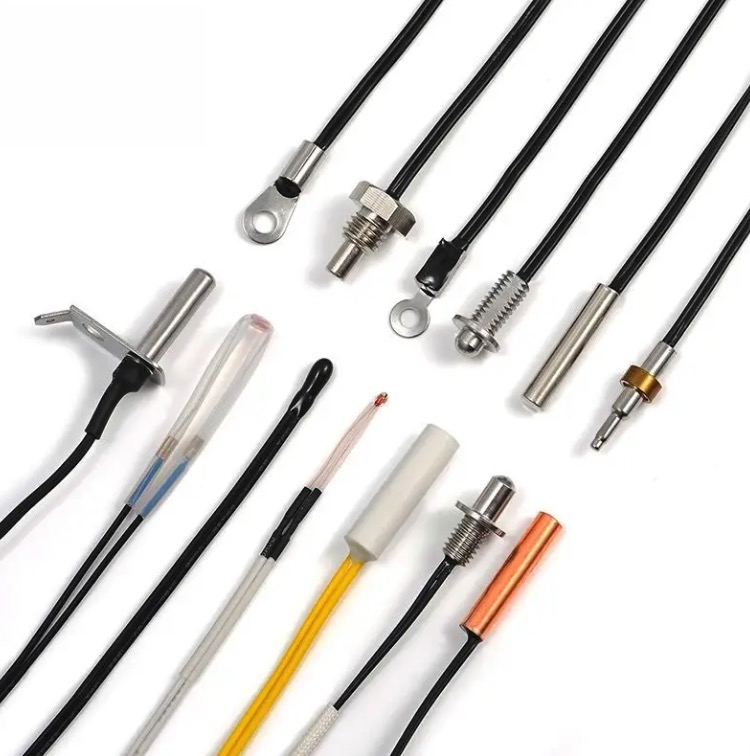
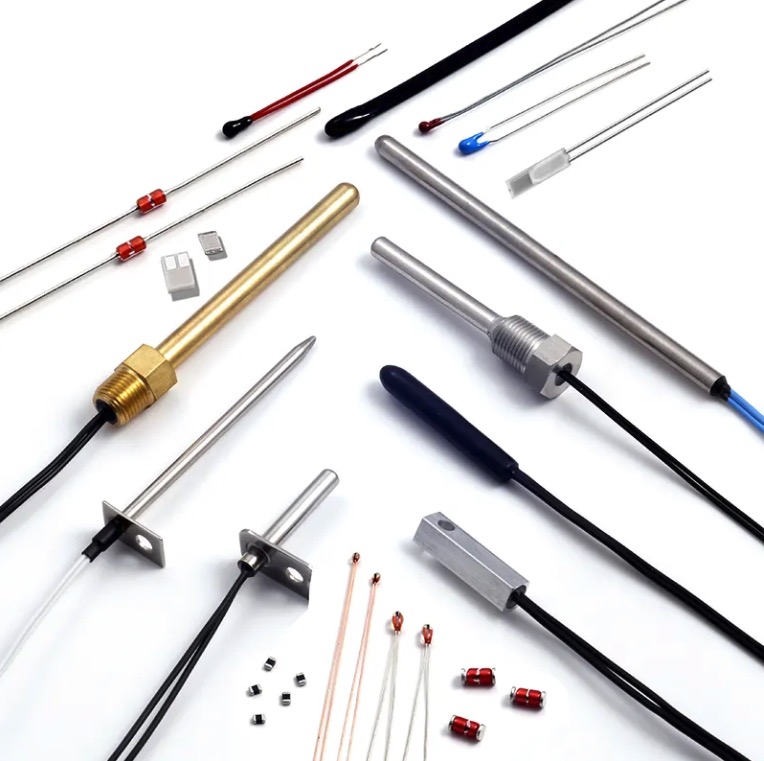
Sensor DS18B20 and Arduino: A Perfect Combination for Temperature Sensing Projects
Introduction
Temperature sensing is a crucial aspect of many electronic projects. In this article, we will explore the use of the DS18B20 sensor in combination with Arduino for accurate temperature measurements. Whether you’re a hobbyist or a professional in the field, understanding how to utilize this sensor with Arduino can take your temperature monitoring projects to the next level.
Article Summary
1. Understanding the DS18B20 Sensor: Get acquainted with the DS18B20 sensor’s specifications and features. Learn about its unique 1-Wire interface and impressive temperature measurement capabilities.
2. Setting up Arduino: Discover the simple steps required to connect the DS18B20 sensor to an Arduino board. We will guide you through the wiring process and explain the necessary libraries to enable seamless communication between the sensor and Arduino.
3. Programming the Arduino: Dive into the code! We will provide you with a sample Arduino sketch that allows you to read temperature data from the DS18B20 sensor accurately. A detailed explanation of the code will help you understand its functionality.
4. Enhancing Accuracy: Learn techniques to improve the accuracy of temperature measurements. We will discuss calibration methods, thermal considerations, and other factors that can affect the precision of your readings.
5. Practical Applications: Explore various applications where the DS18B20 sensor combined with Arduino can be utilized. From environmental monitoring systems to home automation projects, the possibilities are endless.
6. Troubleshooting and Tips: Troubleshoot common issues you may encounter during your DS18B20 and Arduino project. We will also provide valuable tips to optimize your temperature sensing setup.
Conclusion
The integration of the DS18B20 sensor and Arduino brings remarkable temperature sensing capabilities to your projects. By harnessing their potential, you can create innovative solutions that require accurate temperature monitoring. Whether you’re a beginner or an experienced enthusiast, the combination of DS18B20 and Arduino is a powerful tool in your arsenal.
Remember to experiment, explore, and have fun with your temperature sensing projects. Now, grab your Arduino board and DS18B20 sensor, and let’s get started on this exciting journey!
[摘要目录]
1. Understanding the DS18B20 Sensor
2. Setting up Arduino
3. Programming the Arduino
4. Enhancing Accuracy
5. Practical Applications
6. Troubleshooting and Tips
[1. Understanding the DS18B20 Sensor]
The DS18B20 sensor is a digital temperature sensor that utilizes the 1-Wire bus for communication. It provides accurate temperature measurements with a resolution of 12 bits, offering readings from -55°C to +125°C. This wide temperature range makes it suitable for various applications, from industrial processes to home automation systems.
The 1-Wire interface simplifies the wiring process, as it requires only a single data pin on the Arduino board. Multiple DS18B20 sensors can be connected in parallel to the same data line, allowing for efficient temperature monitoring in different locations.
[2. Setting up Arduino]
To begin, gather the necessary components: an Arduino board (such as the Uno or Nano), a DS18B20 sensor, a breadboard, and jumper wires. Connect the DS18B20 sensor to the Arduino as follows:
– Connect the VCC pin of the DS18B20 sensor to the 5V pin on the Arduino.
– Connect the GND pin of the DS18B20 sensor to the GND pin on the Arduino.
– Connect the data pin of the DS18B20 sensor to any digital pin on the Arduino (e.g., digital pin 2).
Ensure a proper connection between the components to guarantee accurate temperature readings.
[3. Programming the Arduino]
Now, let’s dive into the code. To communicate with the DS18B20 sensor, we need to install the OneWire and DallasTemperature libraries. These libraries simplify the process of reading temperature data from the sensor.
Once the libraries are installed, we can start coding. In the Arduino sketch, we initialize the sensor and set up the necessary variables. We then create a function to read the temperature from the sensor and display it on the serial monitor.
By uploading the code to the Arduino board, you can now monitor the temperature readings in real-time. Make sure to adjust the code according to your specific setup and requirements.
[4. Enhancing Accuracy]
While the DS18B20 sensor provides accurate temperature measurements, there are several factors that can affect its precision. Calibration is crucial to minimize any errors caused by environmental conditions or sensor variations. By comparing readings with a known temperature source, you can adjust the measurements accordingly.
Pay attention to thermal considerations, such as heat dissipation and sensor placement. Proper insulation and shielding can prevent external factors from influencing the sensor’s readings.
[5. Practical Applications]
The DS18B20 sensor combined with Arduino opens up a world of practical applications. From monitoring the temperature in a greenhouse to controlling the temperature of a fermentation chamber, the flexibility of this setup is unparalleled. Explore different projects and adapt the code to suit your needs.
Additionally, the DS18B20 sensor’s waterproof variant enables outdoor temperature monitoring without worrying about water damage. This feature makes it ideal for swimming pool temperature control or weather station projects.
[6. Troubleshooting and Tips]
Troubleshooting is an essential part of any project. If you encounter issues with your temperature measurements, check your wiring connections and verify that the libraries are correctly installed.
To optimize your temperature sensing setup, consider using additional components like pull-up resistors and capacitors to reduce interference and ensure stable readings.
In conclusion, the combination of the DS18B20 sensor and Arduino offers tremendous potential for temperature sensing projects. By following the setup process, programming the Arduino, enhancing accuracy, exploring practical applications, and troubleshooting effectively, you can unlock a world of possibilities. Now, it’s time to unleash your creativity and embark on an exciting journey of temperature monitoring and control with the DS18B20 sensor and Arduino.
Understanding NTC Temperature Sensor Craftsmanship and Reliability in Air Conditioning Systems
In modern HVAC systems, temperature sensors play a critical role in ensuring energy efficiency, performance stability, and user comfort. Among them, NTC (Negative Temperature Coefficient) thermistors are the most widely


